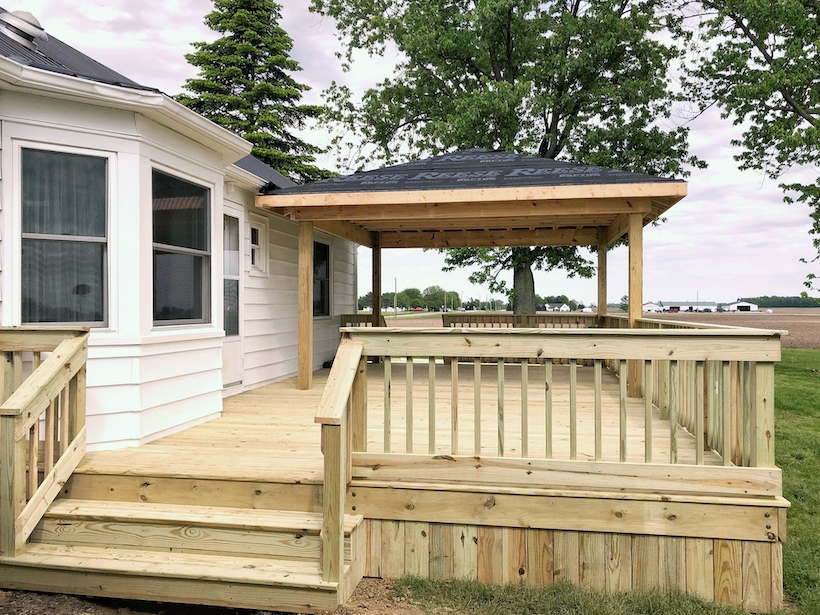
Step-by-Step Building Wooden Shed Guide
Materials Required:
- Wooden planks and beams – For framing, walls, and flooring.
- Plywood sheets – For the roof.
- Nails and screws – To secure the structure.
- Metal brackets – For added support.
- Hinges and lock – For the door.
- Window glass – For the small window.
- Roofing material – Such as shingles or waterproof sheets.
- Tools – Hammer, drill, saw, measuring tape, level, and paintbrush.
Step 1: Design and Planning
- Measure and decide the dimensions of the shed.
- Create a blueprint for the structure, including the open side ventilation area and the door placement.

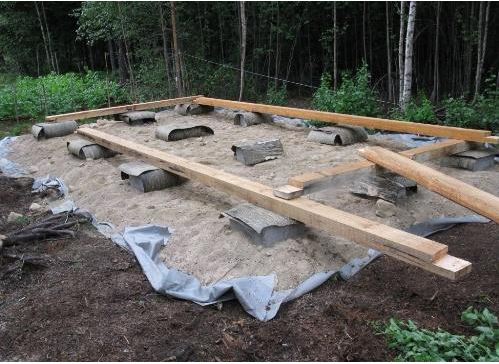
Step 2: Prepare the Foundation
- Choose a level ground to build the shed.
- Use concrete blocks or wooden beams to create a stable base.
- Ensure proper leveling to prevent future instability.
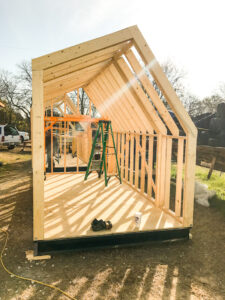
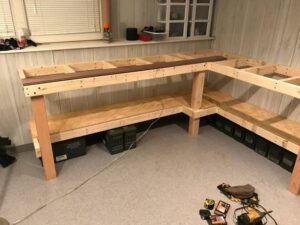
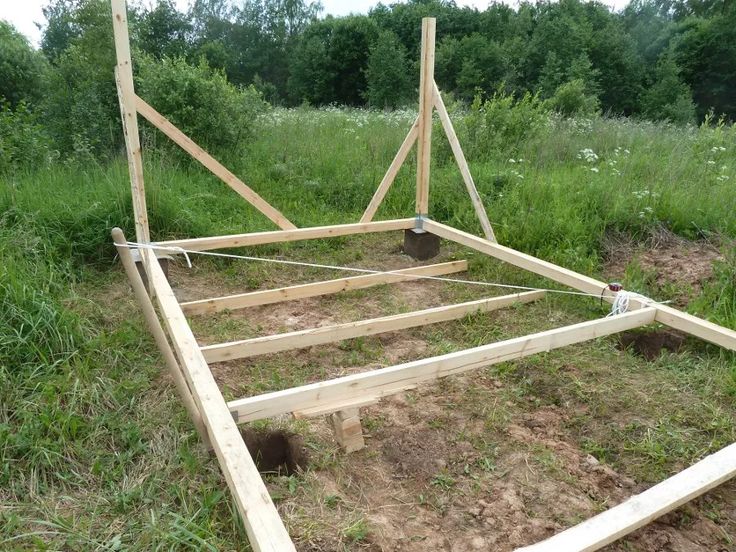
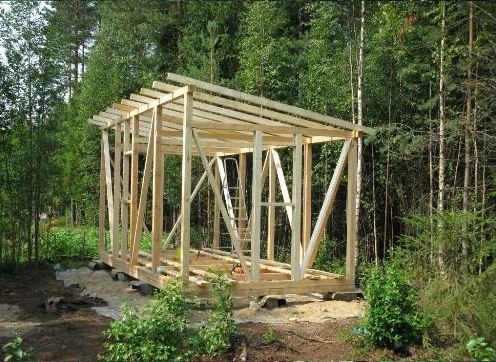
Step 3: Construct the Frame
- Use wooden beams to build the main structure.
- Secure vertical and horizontal supports to form the frame.
- Include a partition for the enclosed section and open ventilated side.
Step 4: Install Flooring
- Nail or screw wooden planks onto the base frame.
- Ensure a solid and even surface.
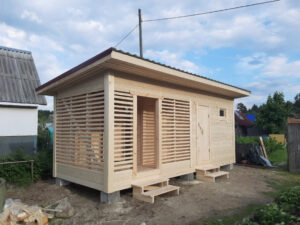
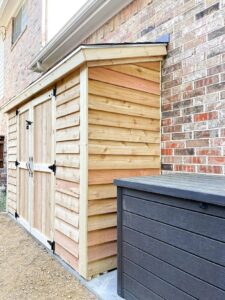
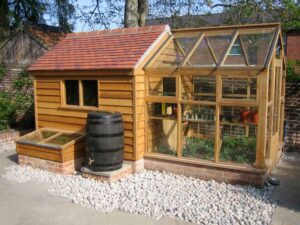
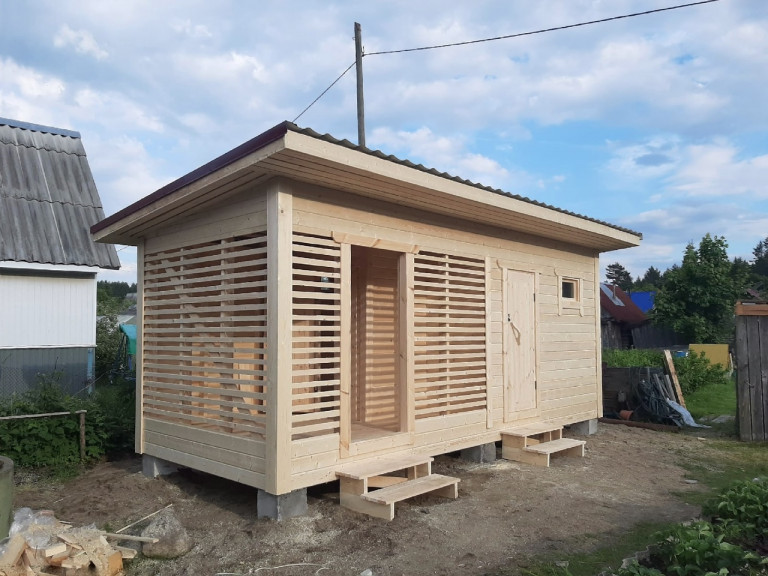
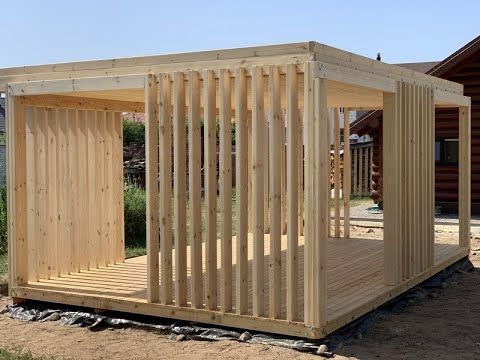
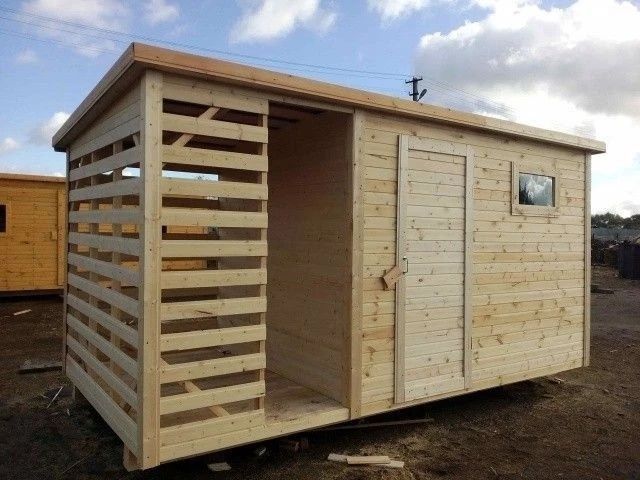
Step 5: Build the Walls
- Attach wooden planks or panels to create the main walls.
- Leave space for the door and window.
- For the side ventilation, use spaced-out wooden slats.
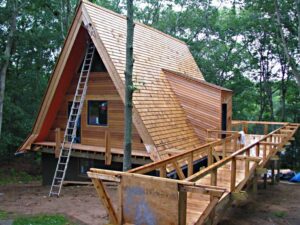
Step 6: Add the Roof
- Use wooden beams to create a sloped roof structure.
- Cover it with plywood sheets and waterproof material.
- Ensure the roof overhangs slightly to prevent rainwater from entering.
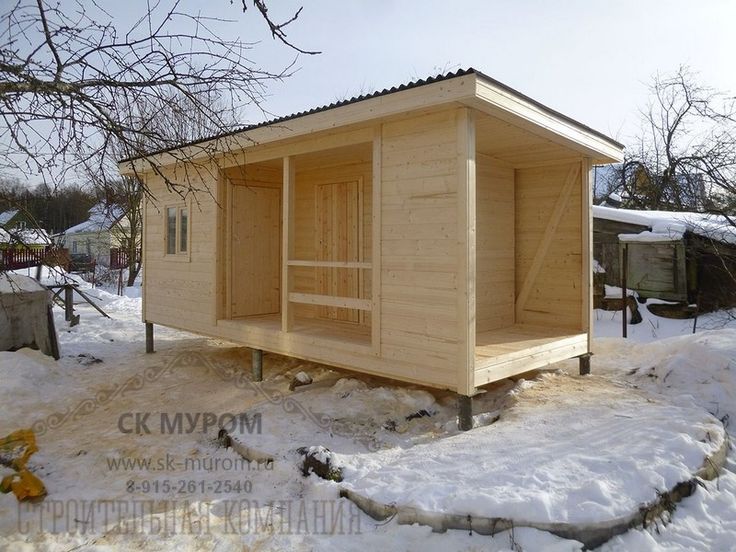
Step 7: Install the Door and Window
- Attach the door using hinges and secure it with a lock.
- Install the glass window with a wooden frame.
Step 8: Finishing Touches
- Sand the wood for a smooth finish.
- Apply a protective sealant or paint to enhance durability.
- Check for any loose nails or screws.
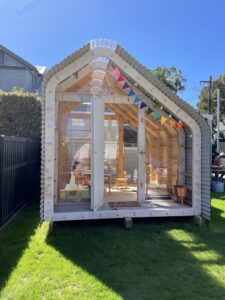
Conclusion:
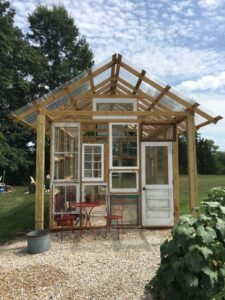
This shed is ideal for storage, outdoor work, or a small relaxation space. The open-slatted side allows for ventilation, making it a practical and stylish wooden structure.