How to make A Workbench

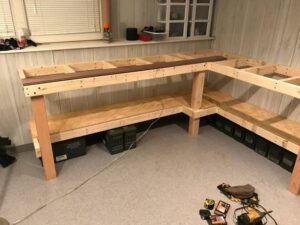
If you’re looking to build a DIY workbench, here’s a simple guide to making a sturdy and functional workbench for woodworking, garage work, or DIY projects.
Step-by-Step Guide:
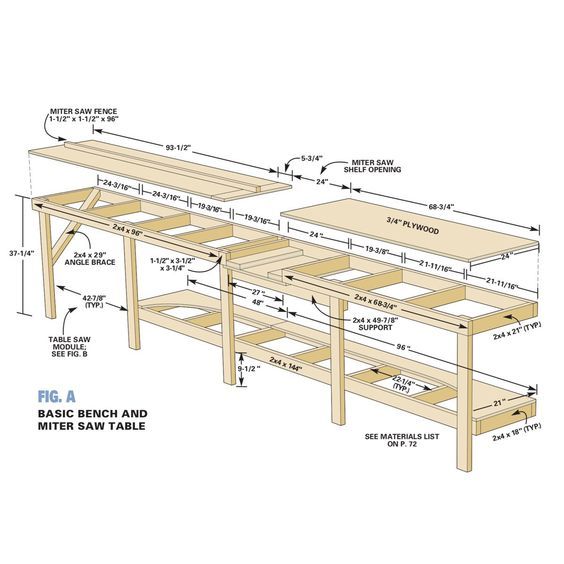
Step 1: Plan Your Workbench Dimensions
- Standard size: 4 ft x 2 ft or 6 ft x 3 ft, but customize based on your needs.
- Height: Typically 32″-36″ (adjust to your preference).
Step 2: Cut the Wood
- Tabletop: Cut the plywood to your desired size.
- Legs: Cut four pieces of 2×4 to your preferred height.
- Frame: Cut two long pieces and two short pieces to form the rectangular base for the tabletop.
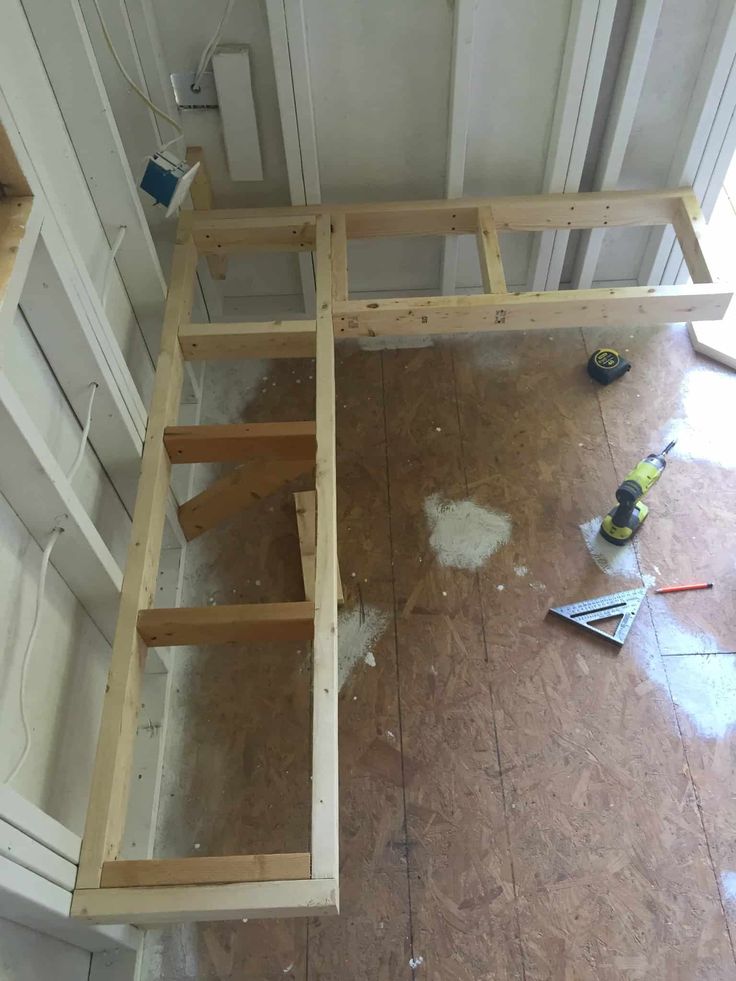
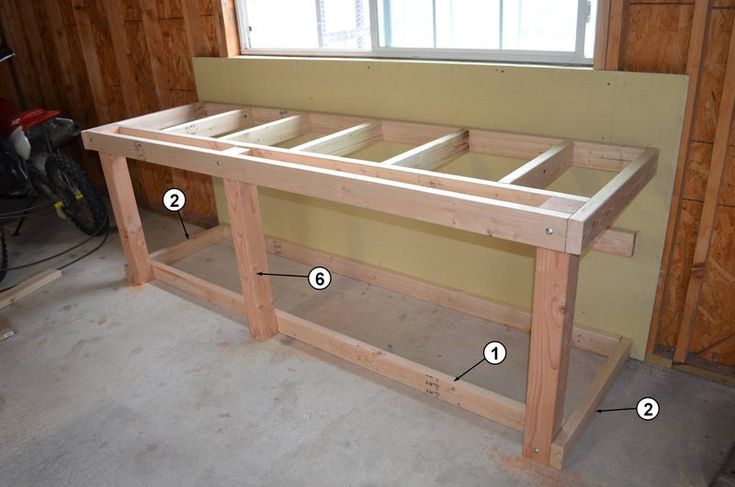
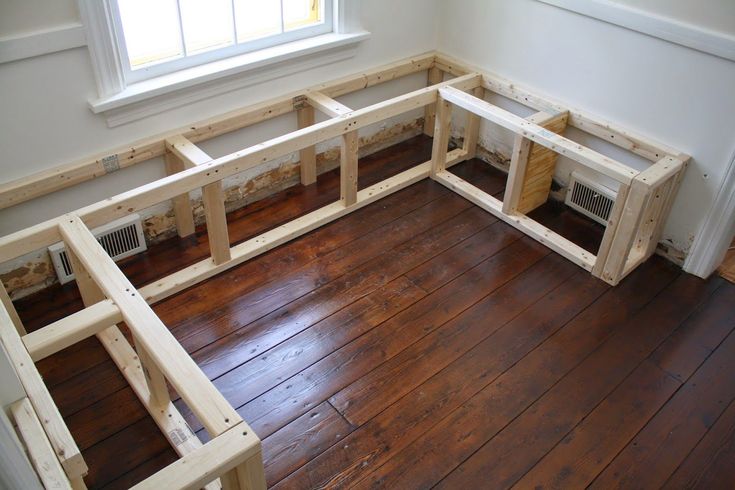
Step 3: Assemble the Frame
- Lay out the frame and attach the 2x4s using wood screws and glue.
- Use clamps and a square to ensure everything is aligned.

Step 4: Attach the Legs
- Screw the legs into the inside corners of the frame.
- Reinforce with diagonal braces (optional) for extra stability.
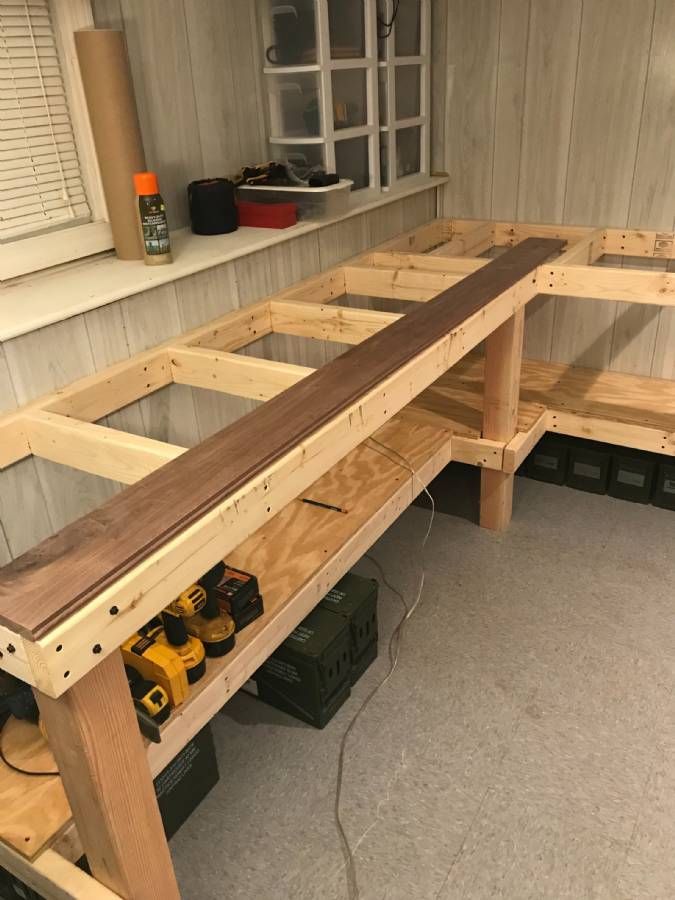
Step 5: Install the Tabletop
- Place the plywood sheet on top of the frame.
- Secure it with screws from the top into the 2×4 frame.
Step 6: Add a Lower Shelf (Optional)
- If extra storage is needed, add another plywood sheet lower down, supported by extra 2x4s.
Step 7: Sand and Finish
- Sand all edges and corners to remove splinters.
- Apply a wood finish or sealant for durability.
Optional Additions:
✔ Casters/Wheels – for mobility
✔ Workbench Vise – for holding materials
✔ Pegboard or Hooks – for tool storage
Materials Needed:
- Plywood or MDF (for the tabletop)
- 2×4 lumber (for the frame and legs)
- Wood screws (2.5″ to 3″)
- Wood glue (for added strength)
- Drill and screws
- Saw (circular saw or handsaw)
- Clamps (optional but helpful)
- Measuring tape & square (for accuracy)
- Sandpaper (for smooth finishing)
- Level (to ensure stability)